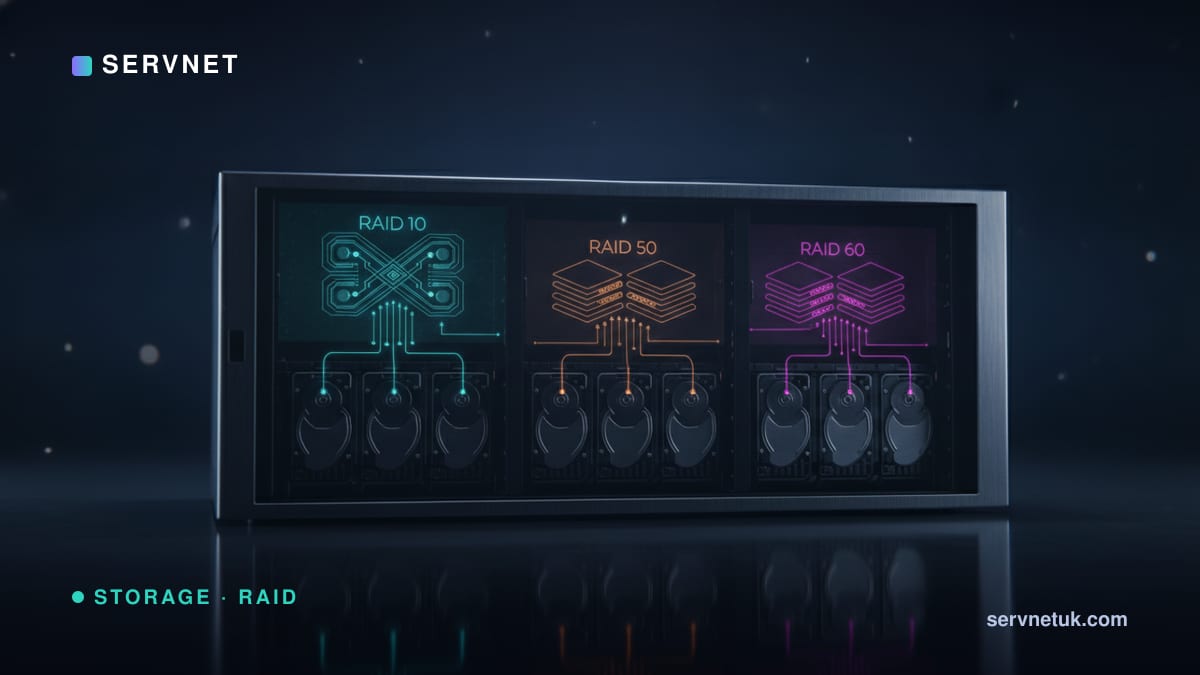
The three nested RAID levels trade write performance, capacity and resilience differently. Here's how to choose between RAID 10, 50 and 60 — and size each in the RAID calculator.
View the data behind this chart
| RAID 10 | RAID 50 | RAID 60 | |
|---|---|---|---|
| Efficiency | 50% | per group | per group |
| Write penalty | ×2 | ×4 | ×6 |
| Survives | 1 / pair | 1 / group | 2 / group |
| Parity in rebuild | Mirror | None / group | 1 / group |
The trade-off at a glance
RAID 10 (striped mirrors) is the performance king: ×2 write penalty, fast rebuilds, predictable latency — at a flat 50% capacity. RAID 50 (striped RAID 5) is the capacity/performance balance: better than one wide RAID 5, surviving one failure per group, ×4 penalty. RAID 60 (striped RAID 6) is the resilience choice: two failures per group, ×6 penalty, best for very large pools.
Efficiency: RAID 10 is always 50%; RAID 50/60 depend on group size (wider groups = more efficient but bigger blast radius).
Resilience is per group
RAID 50 survives one drive per RAID 5 group; RAID 60 survives two per RAID 6 group. So a 4-group RAID 60 can lose up to eight drives if spread two-per-group — but a single group losing one too many is still fatal. RAID 10 guarantees one failure and survives more only if losses miss the same mirror pair.
Crucially, RAID 60 keeps dual-parity protection in each group even during a rebuild, while RAID 50 (single parity per group) has no safety net mid-rebuild — the same risk as RAID 5 at group level.
Choosing
Write-heavy databases and VMs → RAID 10. Large balanced pools where you want more capacity than RAID 10 and faster rebuilds than one wide RAID 5 → RAID 50. Very large capacity/archive pools of big drives where resilience matters most → RAID 60.
Use the calculator's compare mode to weigh, say, RAID 10 vs RAID 60 on the same drives — pure write performance versus capacity and two-per-group resilience.